HEY GORGEOUS!
Growing garlic is one of those gardening tasks that’s both exciting and requires patience (LOTS of patience!). As someone gardening in Central Indiana (Zone 6), I decided to try growing garlic in my backyard raised beds, and it’s been a pretty rewarding experience. If you’re thinking about growing garlic in a cold climate, here’s how I did it and what you can expect.
Picking the Right Garlic
There are two main types of garlic: softneck and hardneck. Each has its pros and cons, so it depends on what you’re looking for.
- Softneck Garlic: This type has a flexible stem, which makes it easy to braid after you harvest it. The cloves are smaller and arranged in layers, so you get more per bulb. Softneck garlic has a milder flavor but stores for up to a year, so it’s great if you want garlic that lasts a long time.
- Hardneck Garlic: This is what I grew. Hardneck garlic has a stiff central stalk, and the cloves are bigger but fewer per bulb. It has a stronger, richer flavor, which is great for cooking, but it doesn’t store as long—usually just a few months—so you’ll want to use it sooner.
Planting Garlic in a Cold Zone
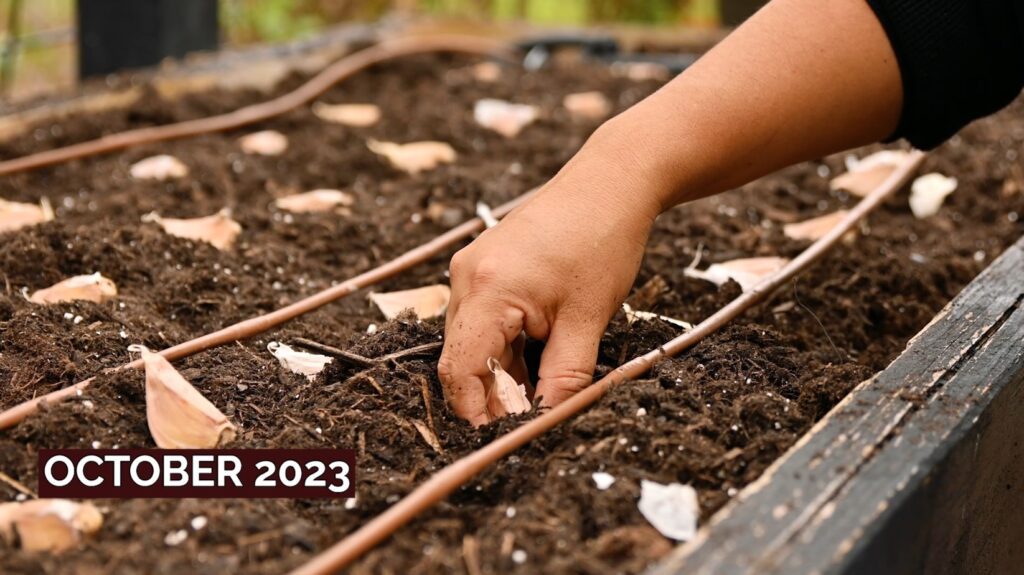
In Central Indiana, garlic planting usually happens around October, close to Halloween. This timing gives the cloves a chance to set roots before the ground freezes. You can expect to harvest your garlic around the 4th of July, so it’s about nine months from planting to harvest.
I planted 2 varieties of hardneck garlic: MUSIC from tomatobob and WHITE GERMAN from pinetree.

Here’s what I did:
- Get the Soil Ready: In October, I mixed a good amount of compost into my raised bed. This made the soil rich and ready to support the garlic through the winter and into spring.
- Plant the Cloves: I planted each clove a few inches deep, with the pointy end up, spacing them about 6 inches apart (If you have planted tulip bulbs before, it’s the same idea).
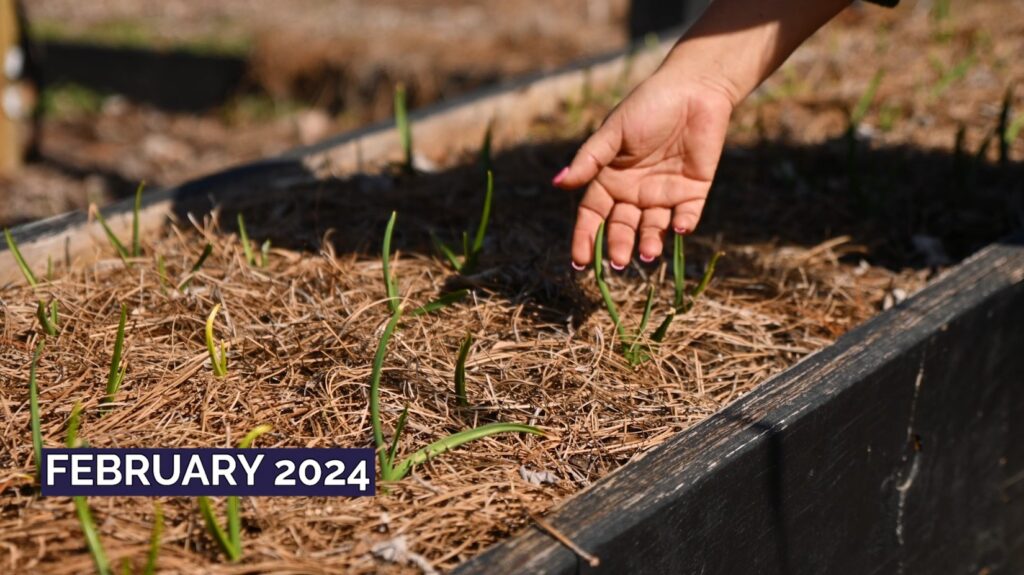
- Mulch: After planting, I covered the bed with pine needle straw, this is pretty much the type of mulch I use for my vegetable garden, but you can use regular straw, leaves or whatever mulch you prefer. This mulch helps keep the soil insulated in the winter and retains moisture when it gets warmer.
Taking Care of the Garlic
Garlic doesn’t need much attention, which is one of the reasons I like growing it. Here’s how I took care of mine:
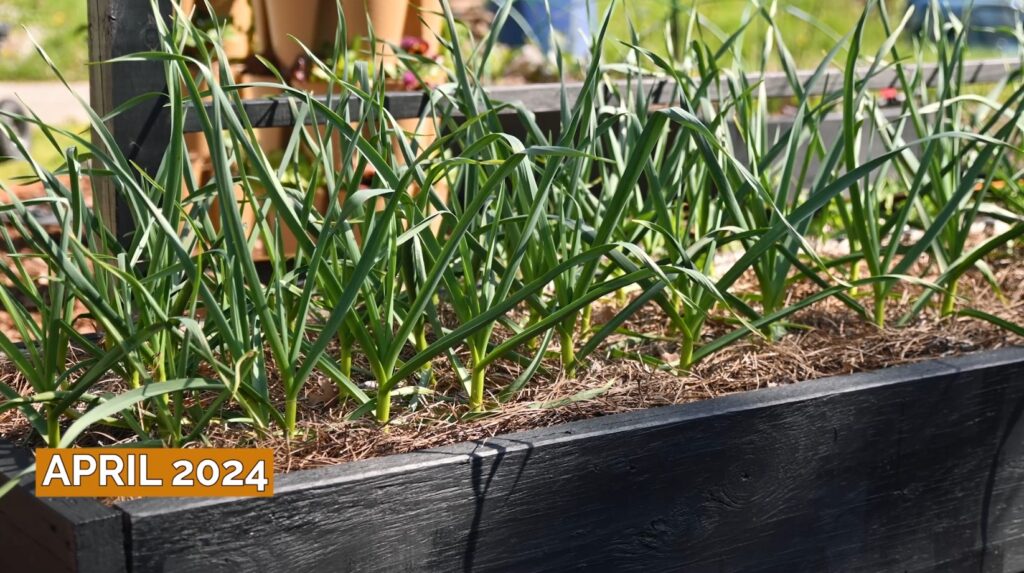
- Watering: I didn’t use my irrigation system for the garlic. Instead, I let the natural snow and rain take care of it. The soil stayed moist enough that I didn’t need to do any hand-watering.
- Fertilizing: In late March, I sprinkled some slow-release vegetable fertilizer over the soil. The spring rains helped distribute the nutrients. I planned to fertilize again in early May, but life got busy, and I never got around to it. Thankfully, the garlic still did great.
Harvesting the Garlic
By mid-June, my garlic was ready to harvest. Here’s how I knew it was time and how I harvested it:
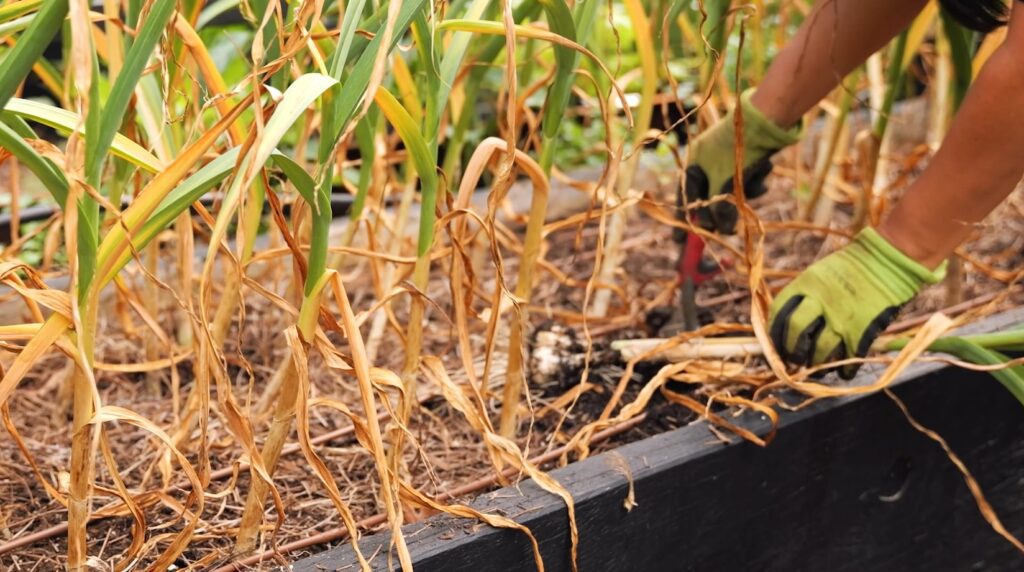
- Signs It’s Ready: The leaves were yellowing and the stems were drying out, which are signs the garlic is ready to be pulled.
- Remove the Mulch: The pine needle straw was easy to move aside, and I plan to reuse it elsewhere in the garden.
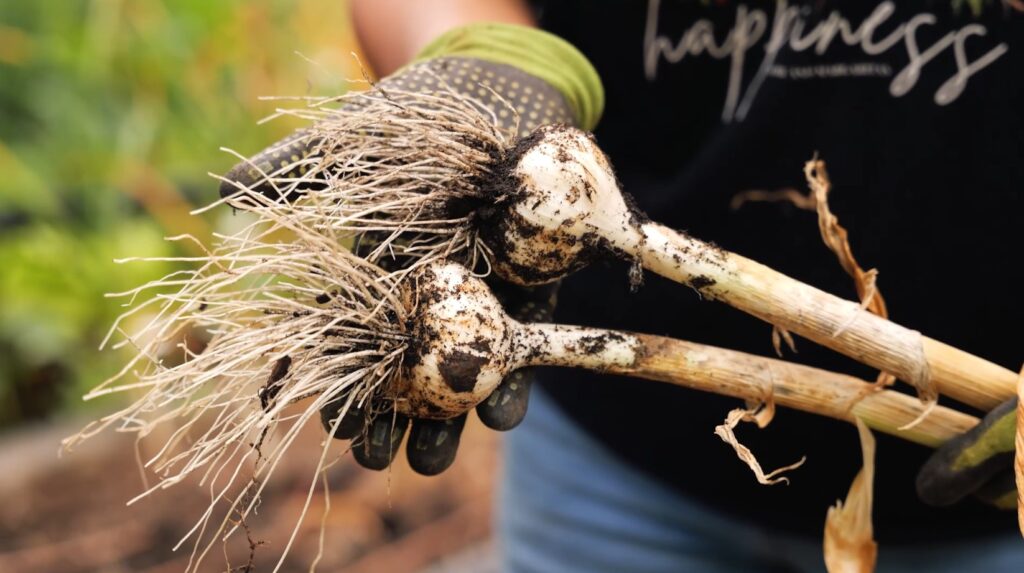
- Harvest the Garlic: I used a garden fork to gently loosen the soil around the bulbs (though my fork broke during this!). The garlic came out nicely, and I was especially happy with the size of the Music variety bulbs.
Curing and Storing Garlic
After harvesting, you need to let the garlic dry, or “cure,” before bringing it indoors. This helps it last longer in storage.
- Curing: I kept the garlic outside, protected from rain, and hung it in bunches to dry. At this point, I didn’t wash it or remove any layers. It’s best to let it dry completely before storing.
- Storing: Once the garlic is fully dried, you can store it in a cool, dry place. Remember, hardneck garlic doesn’t store as long as softneck, so use it within a few months.
Wrapping It Up
Growing garlic in a cold zone, especially in a small urban garden like mine, is a mix of challenges and rewards. The long growing time can feel like it’s tying up valuable garden space, but the payoff is worth it. Now that my garlic is harvested, I have space in my raised bed for other plants, and I’m already looking forward to planting garlic again this fall.
If you prefer to watch a short video of the whole process, monthly progress and harvest, check out the following and let me know if you enjoy it.
Thanks for following my garlic-growing adventure! If you’re in a similar climate, I hope this helps you grow your own garlic. Happy gardening!


